Only Decoupage
Rosa Gallica Aurelianensi - Decoupage Paper for Furniture - 7 Size Options - Botanical Art
Rosa Gallica Aurelianensi - Decoupage Paper for Furniture - 7 Size Options - Botanical Art
Couldn't load pickup availability
Immerse yourself in the beauty of diverse blooms with these botanical decoupage papers 🌻🪻
Featuring a rich array of flower varieties, from delicate wildflowers to elegant garden roses, alongside detailed botanical illustrations of leaves and stems, perfect for bringing nature's artistry to your projects. 🌹🍂
7 · S I Z E · O P T I O N S
A5 / 5.8 x 8.3 INCHES / 14 x 21 CM (one sheet)
A4 / 8.3 x 11.7 INCHES / 21 x 29 CM (one sheet)
A3 / 11.7 x 16.5 INCHES / 30 x 42 CM (one sheet)
A2 / 16.5 x 23.4 INCHES / 42 x 60 CM (one sheet)
A1 / 23.4 x 33.1 INCHES / 60 x 85 CM (one sheet)
L2 / 29.5 x 41.7 INCHES / 75 x 106 CM (one sheet)
L1 / 35.4 x 49.2 INCHES / 90 x 125 CM (one sheet)
I N · S T O C K - R E A D Y · TO · S H I P
· One-piece design ensures seamless application.
· Use whole or cut into pieces for projects of any size.
· Easy-tear feature for convenient use.
· Works beautifully with all surfaces.
High-quality, thin, and durable rice paper for decoupage. Ideal for your furniture, decoration, and crafting projects. Offers vibrant colors and detailed designs. Easy to apply and long-lasting.
Decoupage papers offer a fantastic way to personalize and transform a wide array of items. From breathing new life into old furniture like tables, chairs, and cabinets to adding unique flair to home décor pieces such as trays, vases, and picture frames, these papers are incredibly versatile. They're also perfect for smaller craft projects, including embellishing boxes, candles, scrapbooks, and even clothing and accessories, allowing for endless creative expression and the creation of truly one-of-a-kind pieces.
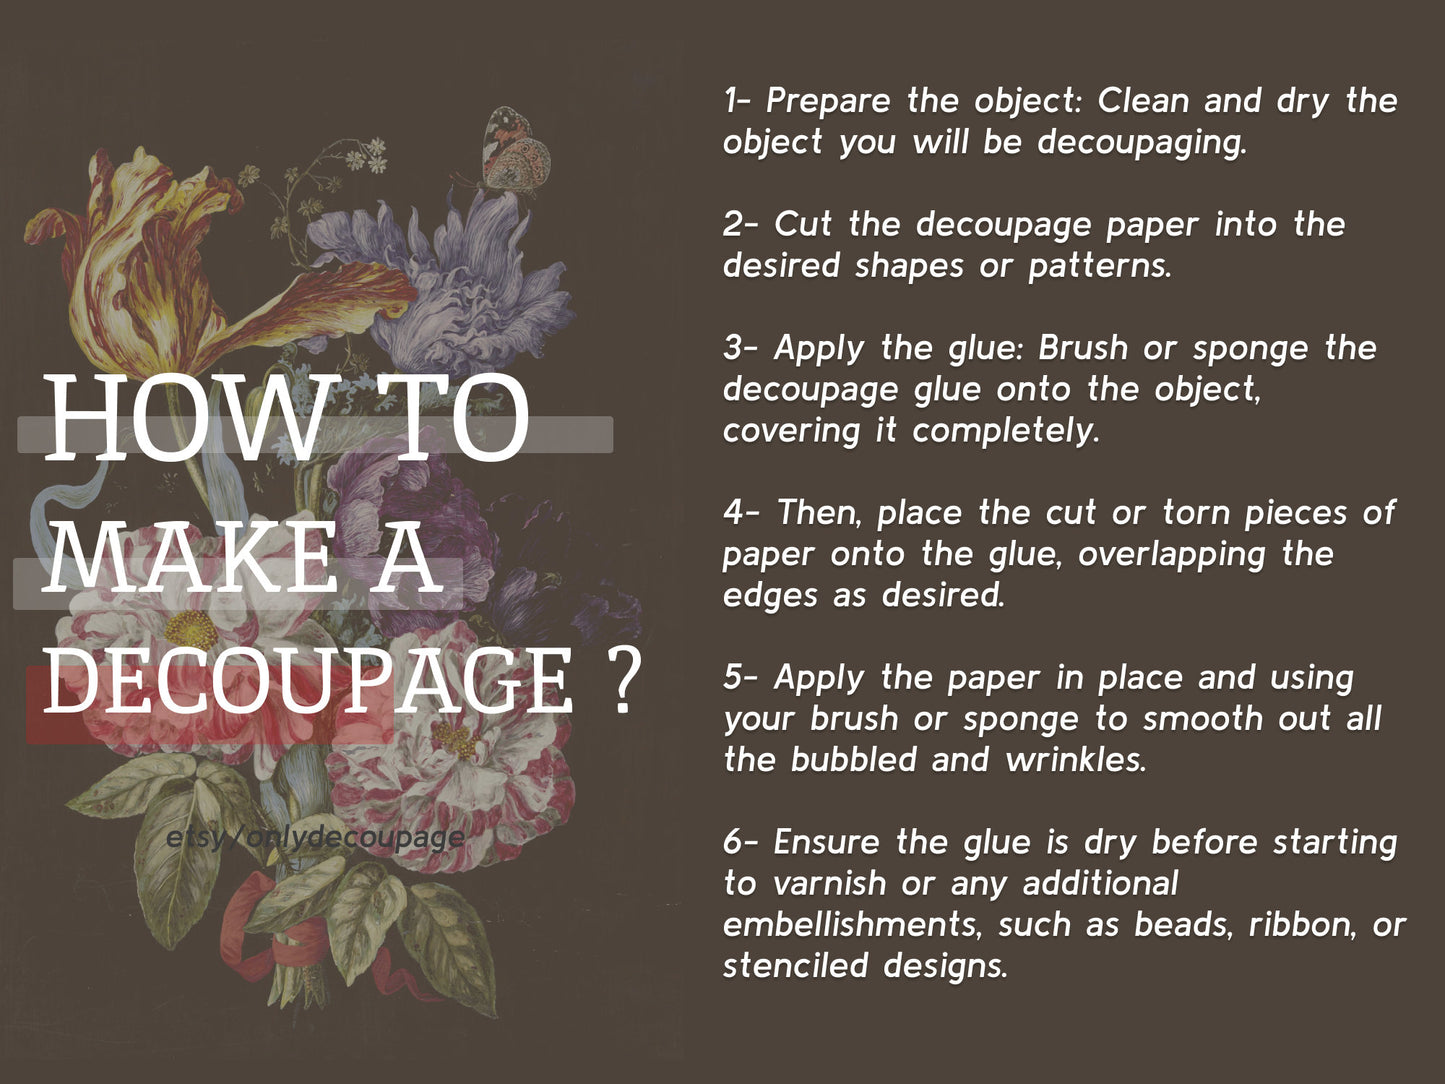
HOW TO MAKE A DECOUPAGE
· To use, make sure the surface it is clean and dust free firstly, then select your decoupage paper and cut them out or you can use whole paper if you want.
· Secondly, gently brush a layer of decoupage glue onto the object, covering it completely.
· Next, apply this paper in place and using your brush or sponge to smooth out all the bubbled and wrinkles and wipe away any excess glue with a barely damp sponge.
· Lastly, ensure the glue is dry before starting to varnish and leave the varnish to dry thoroughly between each coat.
Share